As the culmination of a three year course I knew my final major project had to be something rather special. I decided to look into a concept I've always found interesting: Intimacy. I had no idea what direction this project would take, which is of course exactly the right place to start from.
It was a difficult brief to fulfil (should have seen this coming, I did write it after all). I used up an entire A3 sketchbook before I was happy, but I'll skip all that jazz and come right to the conclusion. The one word that kept cropping up was 'closeness'. This led me to look at the way people who share an intimate connection interact with one another. For me this is summed up by an intimate embrace i.e. a hug, the way a person envelops someone special to them gave me a starting point.
I wanted to design a really contemporary piece yet made with traditional techniques. Research dictated a curvy form, one that somehow echoed the sentiment of an embrace, enclosing something precious. As soon as I started to put pen to paper I knew two things; firstly, this was going to be fun. Secondly, it would involve coopering.
My design process uses pencil sketches, 1/5th scale models, full scale models, Rhino 4.0 (a computer modelling program suited to 3D organic forms) and full scale drawings. I constantly flip between mediums refining my ideas on the fly; a subtle change of proportion here, the flow of a curve there, all the while keeping an eye on the bigger picture - It's easy to get caught up in small details and lose sight of what you hoped to achieve in the first place.
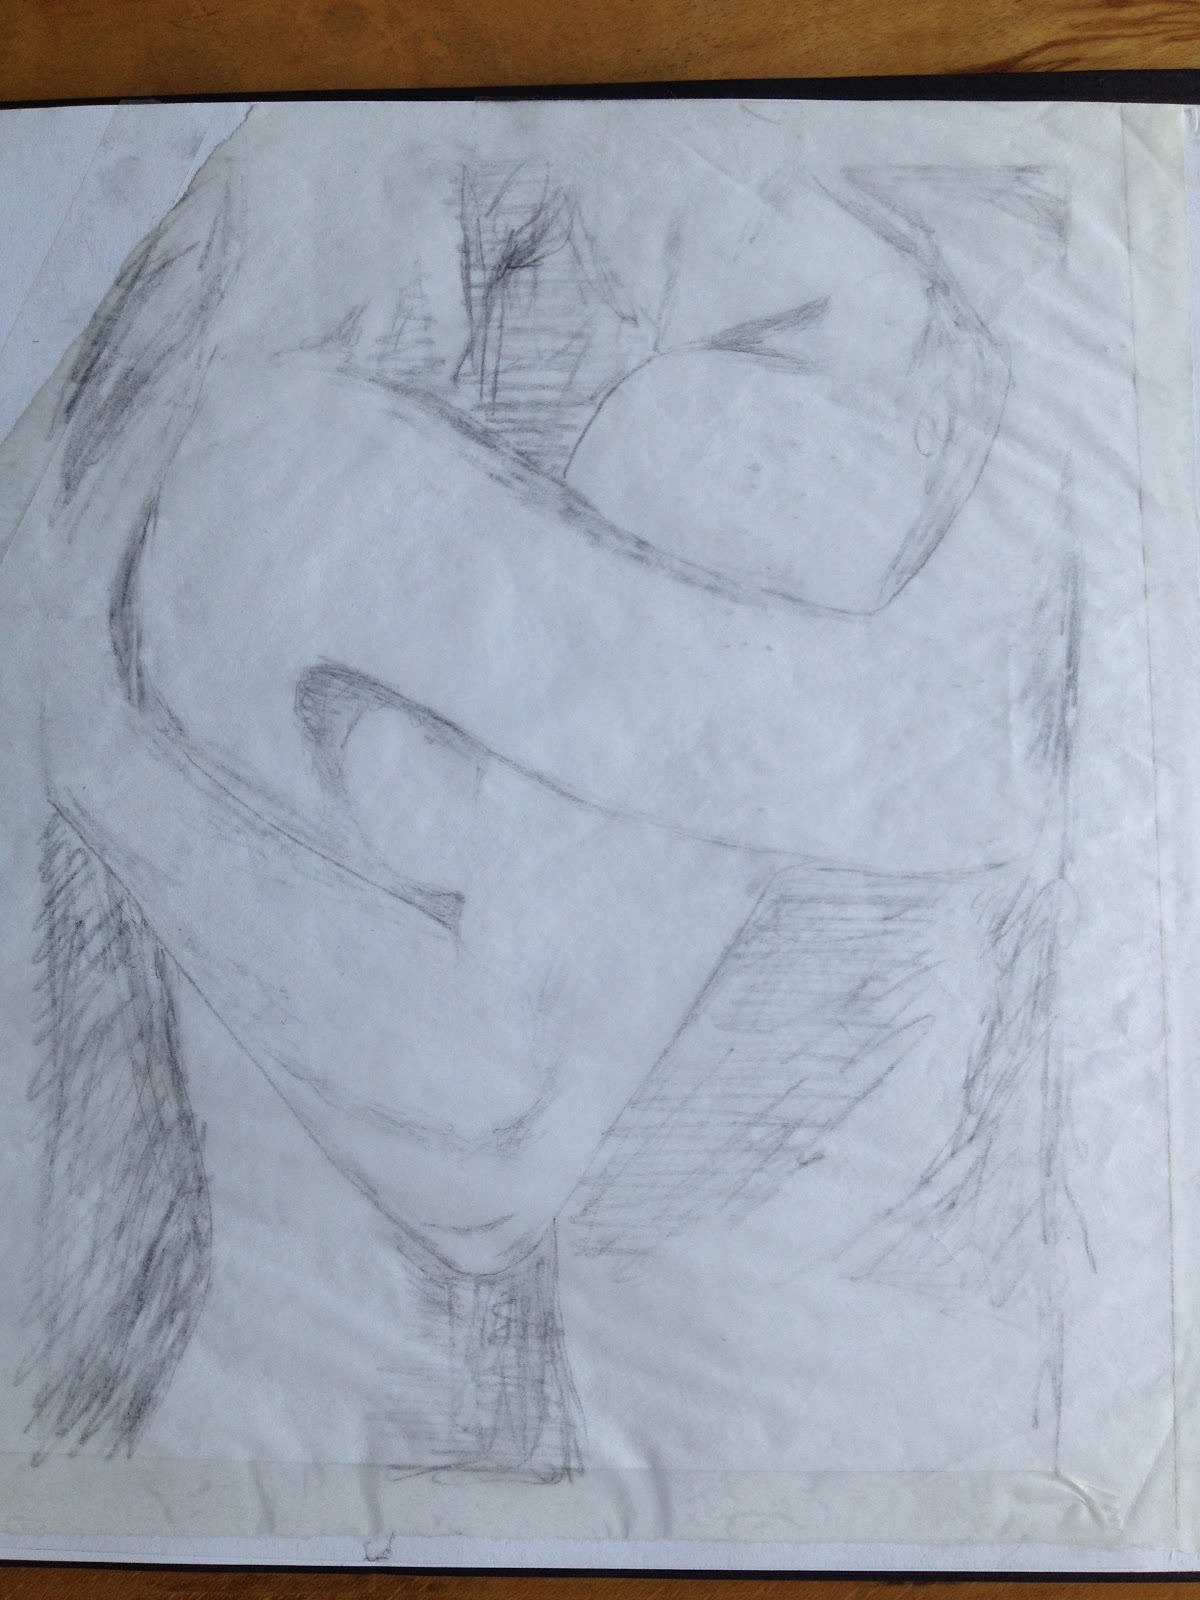
This is quite close to the final design, albeit more abstracted, biggest difference being the hinge placement as you will see later on. The form is not inspired by any one thing but rather a mix of the female form, general organic shapes and sweeping curves.
It will serve as a necklace display cabinet with a twist - the neclaces will hang from a series of repostionable magnetic hooks, sticking to corresponding steel strips inlaid on the underside of the cabinets top. This gives the client a level of interaction with the piece. I did consider more storage options but decided against it because it would detract from the overall form. It is not intended as a full blown jewellery box, more a private place to hang your finest pieces, the flick offering a hint of what lies within....

This is why full scale mock-ups are so important; on paper the size/proportions looked fine. In reality It was way, way to big. The final size ended up about 60% of this.
Swiss Steamed Pear from
Timberline in Kent. The board on the left was an absolute monster....5' 9'' long, 23" wide, 2 1/4" thick of prime Pearwood! If your familiar with this timber you'll know the chances of finding a defect free slab this big are rare indeed.
Hand planing the 40 'staves' that make up the coopered carcase. This project was all about showcasing my craft skills, hand planing 80 surfaces perfectly flat each at the correct dimension and angle seemed a good way to go about this, also as the cabinet is ovular in section using machinery for this would have taken longer by far.
Getting there. Each completed stave was stapled to its neighbour for ease of handling. Note the rod (1:1 working drawing)
A first glimpse of the cabinets true form. The forms profile is asymmetrical in every was so Rhino helped map out the correct profile of each numbered stave before bandsawing most of the waste. The blocky section will be carved into the flick discussed earlier.
Before the carcase is dissected I thought it wise to get most of the outside shaping done, once again entirely by hand using no powertools. Its times like these that remind me why I got into craft in the first place. Delightful.
This photograph was taken after the cabinet was sawn (..freehand. boy was that nerve-wracking) into three parts, the two doors and the cabinet back. So how does one carve out the inside of a peculiar hollow form like this? Simple, make a tool specifically for the task in hand. This plane has a double convex sole that matches the cabinets contours. Here I'm shaping the overlapping section of the left door.
The same door flipped over to finalise the outside shape, I used a combination of scrapers, custom shaves, planes, carving chisels, hook knives and abrasives to do this. Lather, Rinse, Repeat.
Chopping out the waste where the bespoke hinges will sit. It was quite an interesting set of processes making these hinges, but as i've had so much interest I won't go into any detail here - I'll do a dedicated post on them later in the week.
Dry fitting the hinges for the first time to check the hang, which really got my nerves up for there would be no second chances. This is where careful thinking and accurate workmanship are vital. ''Think thrice, measure twice, cut once''. Note the chalk band running along the bottom of the back section, when fitting the cabinets base (see below) the chalk will transfer to the mating edge thus showing where the two touch, aiding the fitting process.
Said cabinet base. Although Pearwood is a very stable timber i.e. won't cup or twist as much with relative humidity/temperature changes, there is always that possibility. It was imperative this base remained flat, if it cupped the entire cabinet would move with it affecting the hang of the doors. A big no no. To keep the base on an even keel two 10mm stainless steel rods were inserted (but not glued) as shown, this limits the movement to one direction keeping cabinet on an even keel.
Earlier I mentioned the moveable magnetic necklace hooks. What you see above is the underside of the cabinet top showing steel strip placement. These strips were inlaid underneath a thin saw-cut veneer, thus rendering them invisible whilst still retaining magnetic holding power. Kind of hard to explain but all will become clear.
The base is now fixed, steel rods n'all. With that done each door received a lengthy tinkering (as did the hinges) to get the hang just right.
Cabinet top : sorted. You can make out the lay of the magnets now, showing where the strips end. At this point the form has been refined, all that remains is a good sanding ready for the finish.
Prototype necklace hook, this is pretty much the correct shape but the actual hooks are made from Pearwood (not burned Boxwood...it's a long story). They are also a little larger with deeper throats.
The cabinet is finished in 30% sheen Pre-Cat Lacquer. Original specs listed A-C lacquer, however just in the nick of time somebody warned me that certain hardeners used with the lacquer turn Pearwood a rather boring brown colour on contact (thanks Jim!)
All in all a very exciting and challenging build. The finished piece surpassed my expectations which is always nice. Feedback has been amazing, some of the comments have been deeply touching. Many thanks to all who helped along the way - you know who you are and you have my gratitude.
Studio photos to follow.