
This is only the sixth or seventh time I've worked in yew. Every time it gets me.

Yew trees often start life as several closely spaced saplings which, given enough time and the right conditions, merge together into a single irregular bole. This does beautiful things to the timber lying within, however, beauty has its price. Bark inclusions, deep checking, shakes, live/dead knots, stresses etc. are all too frequent. Consequently the wastage factors are astronomical, the lowest Iv'e gotten away with is near 250%. Two highly respected makers (we're talking multiple Guild Mark level) informed me on the finest work work they allow around 400% from the board. Ridiculous as this sounds even with my limited experience I can well believe it.

The second problem arises after you finally have workable components cut. Yew saws well, but resists machining with every fibre of its being (aha) which is why hand tools are a must. I saw the settled components close to finished dimensions before hand planing them to final size, finishing up with a high angle infill smoother or a scraper depending how difficult that particular surface is feeling. The photo above is a good example of man versus machine. For the acute curved sections I use files, rasps, gouges, knives and shaped batons with coarse abrasive paper attached. When you get it right though...boy does this wood sing!

The all important mock up, helping me refine the ergonomics and work out the details. This is actually the second mock up, the first wasn't quite there. Designed to took 'well planted' at the base rising up to 'open and inviting' towards the top, with subtle curves and details to make it less industrial looking.
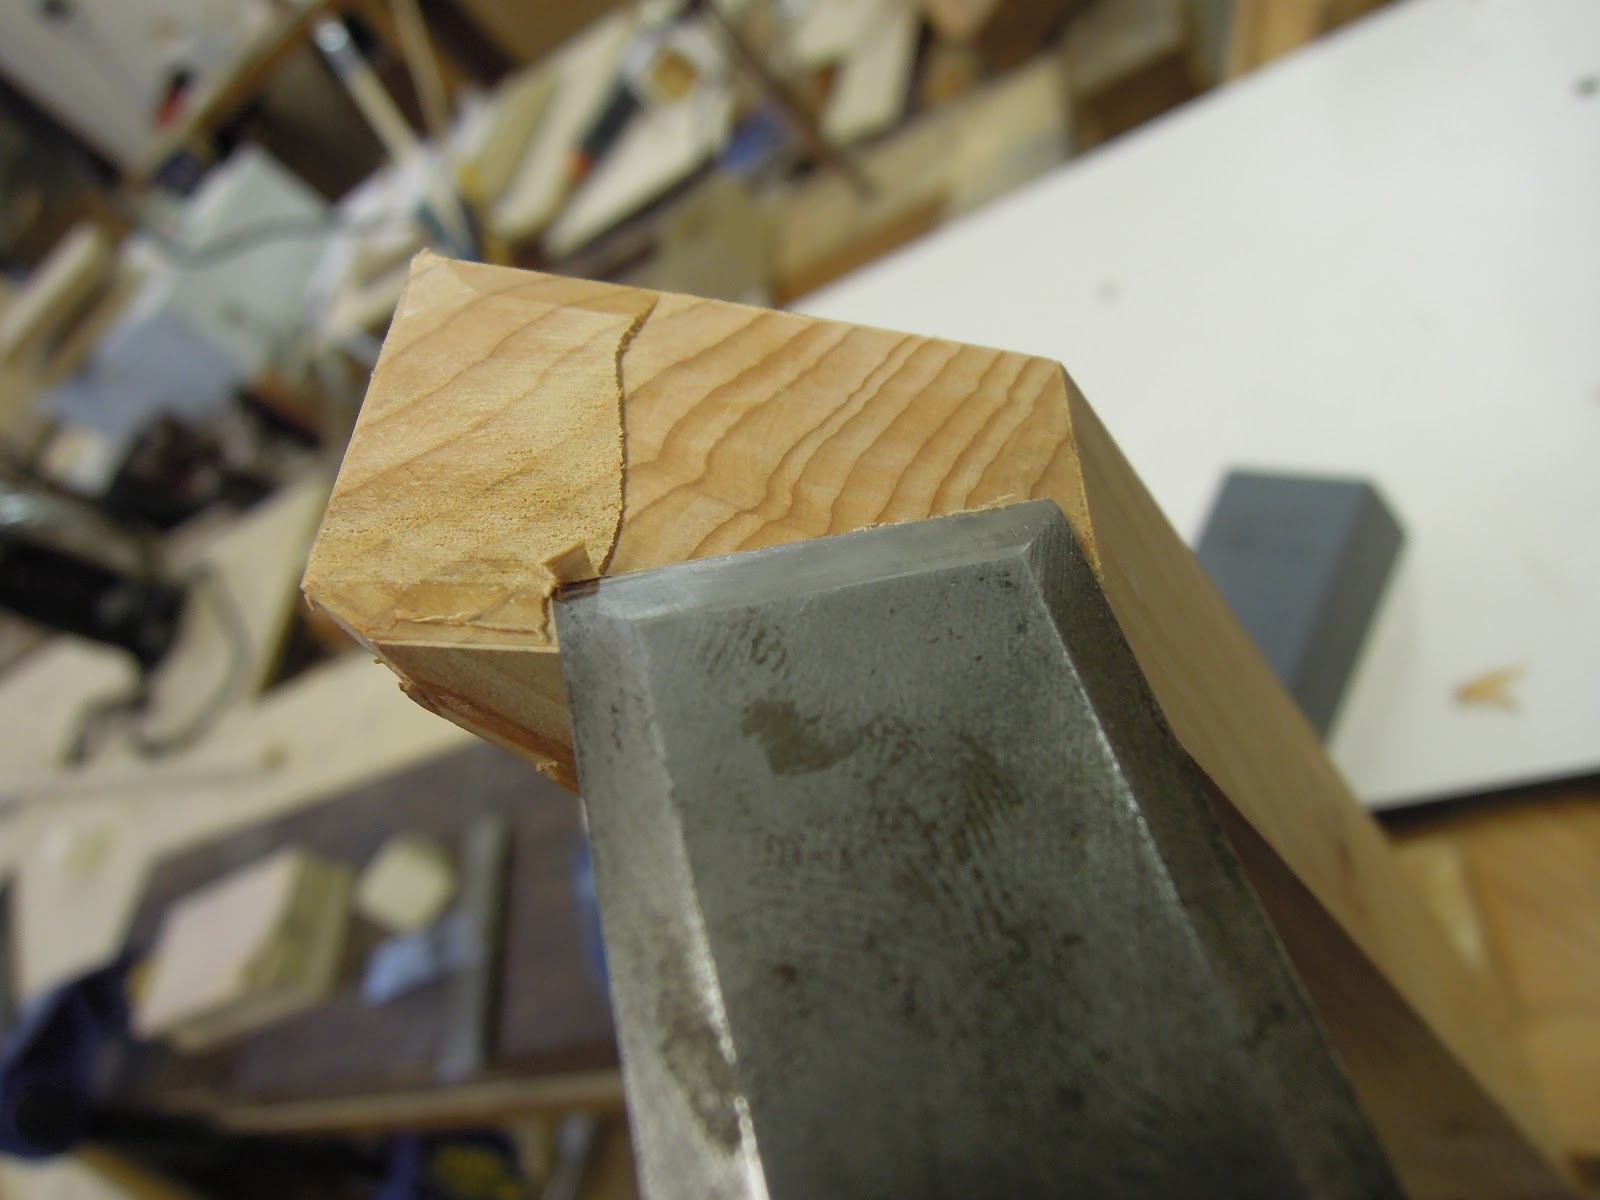
Yew end grain is surprisingly uniform to work providing the tool is sharp. I find it quite similar to paring boxwood so far as texture goes, though obviously not as hard. For a small joint face such as the mitre above I knife a boundary line, bevel the far edge to shorten the fibres (shorter fibers = weaker = less likely to chip the edge as the chisel follows through) then work my way up the face taking a little at a time. It's surprisingly quick and if you start the cut right successive cuts will follow the datum set by the previous.

So what do you do when your local supplier runs out of dominoes? Be thankful you have an appropriately sized hollow! I know I know, those who know me say I'm a traditionalist in my methods and it's not a mortice and tenon, but with rails this narrow most of the strength is via bracing that the arms and corner blocks provide. In the end I couldn't justify the extra work for little gain.

Simple glue up. The correct arm positions were plotted on a thick piece of MDF and secured with hold-downs. The benefit of this is two fold; ease of squaring everything up, ease of keeping everything flat. Note temporary cauls allow for correct clamping pressure direction, Hot-melt glue is your friend!

A similar set up for the frame, this is the eighth chair I have made so far and without out a doubt the least stressful to glue up. Fifteen minutes tops.

Temporary tacking the Calico cover which will form the seat pads shape. I took my time over this to make it as even/firm as possible. The finish cover is a rather gorgeous purple/pink marbled Kidskin suede barely big enough for the job, It had to be stretched in small increments over the course of a
week.

I decided to try a new finish on this one, Its a hybrid between shellac and a modified Sam Maloof wiping varnish recipe. It gives it a super silky feel that also brings out the clarity of the wood, both colour and grain. Eminently suitable for Yew.


Success!
No comments:
Post a Comment